Thank you, campers and families, for a wonderful week!
Below are some resources and inspiration for your campers:
Our projects this week:
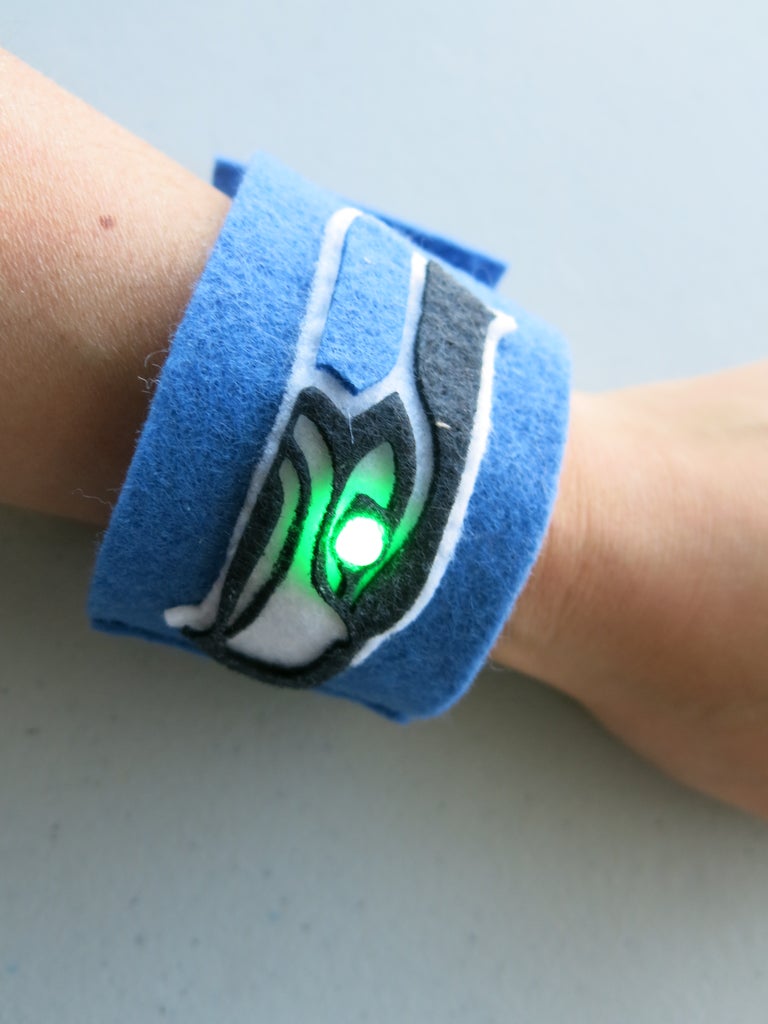
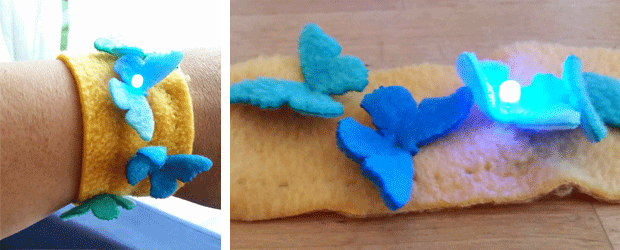
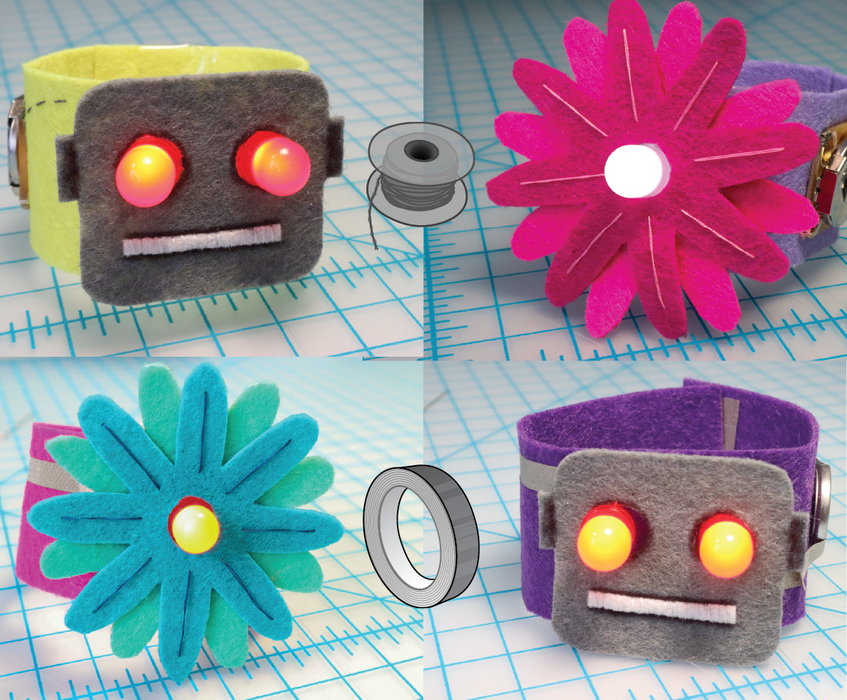
- LED wristband instructions and inspiration
- Sublimation + LED Tote Bag instructions
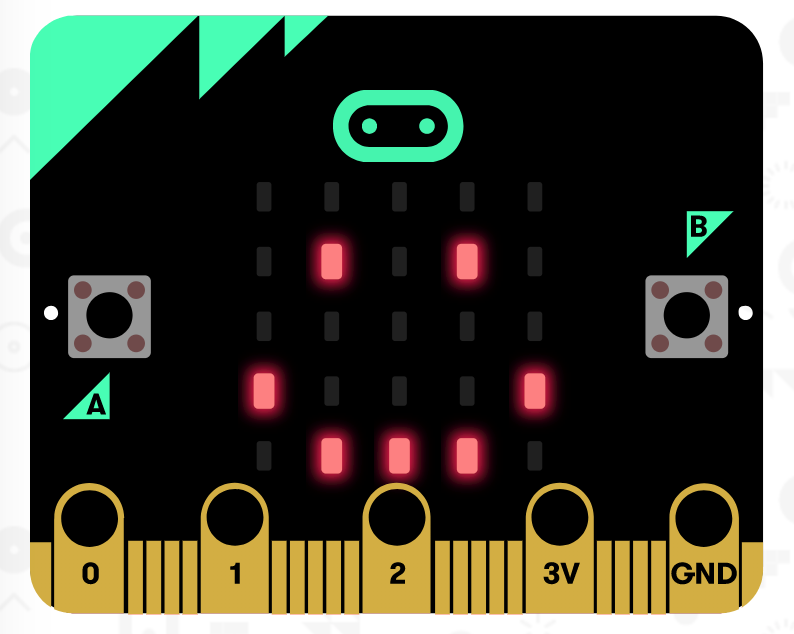
- Micro:bit resources
- Gemma M0 buzzing timer + Battery Charger info
More to explore:
- Wire to Wear exhibit from the Museum of Science and Industry in Chicago
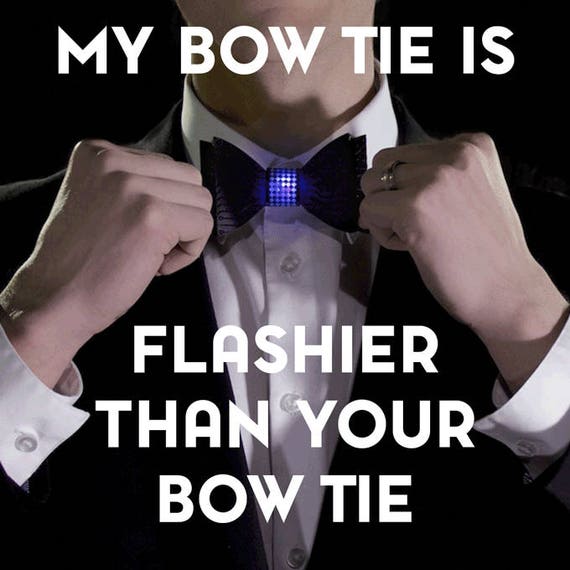
- TechnoChic, creator of our Blinky Bowtie kits and several tutorials we used
- The "Wearables" category on Instructables.com
- Earsketch - code music (currently available in Python and Java; blocks to be released this year)
- Construct 3 (code games online)
- MakeCode Arcade
- Some of the hardware that is compatible with MakeCode Arcade
- Hour of Code from code.org